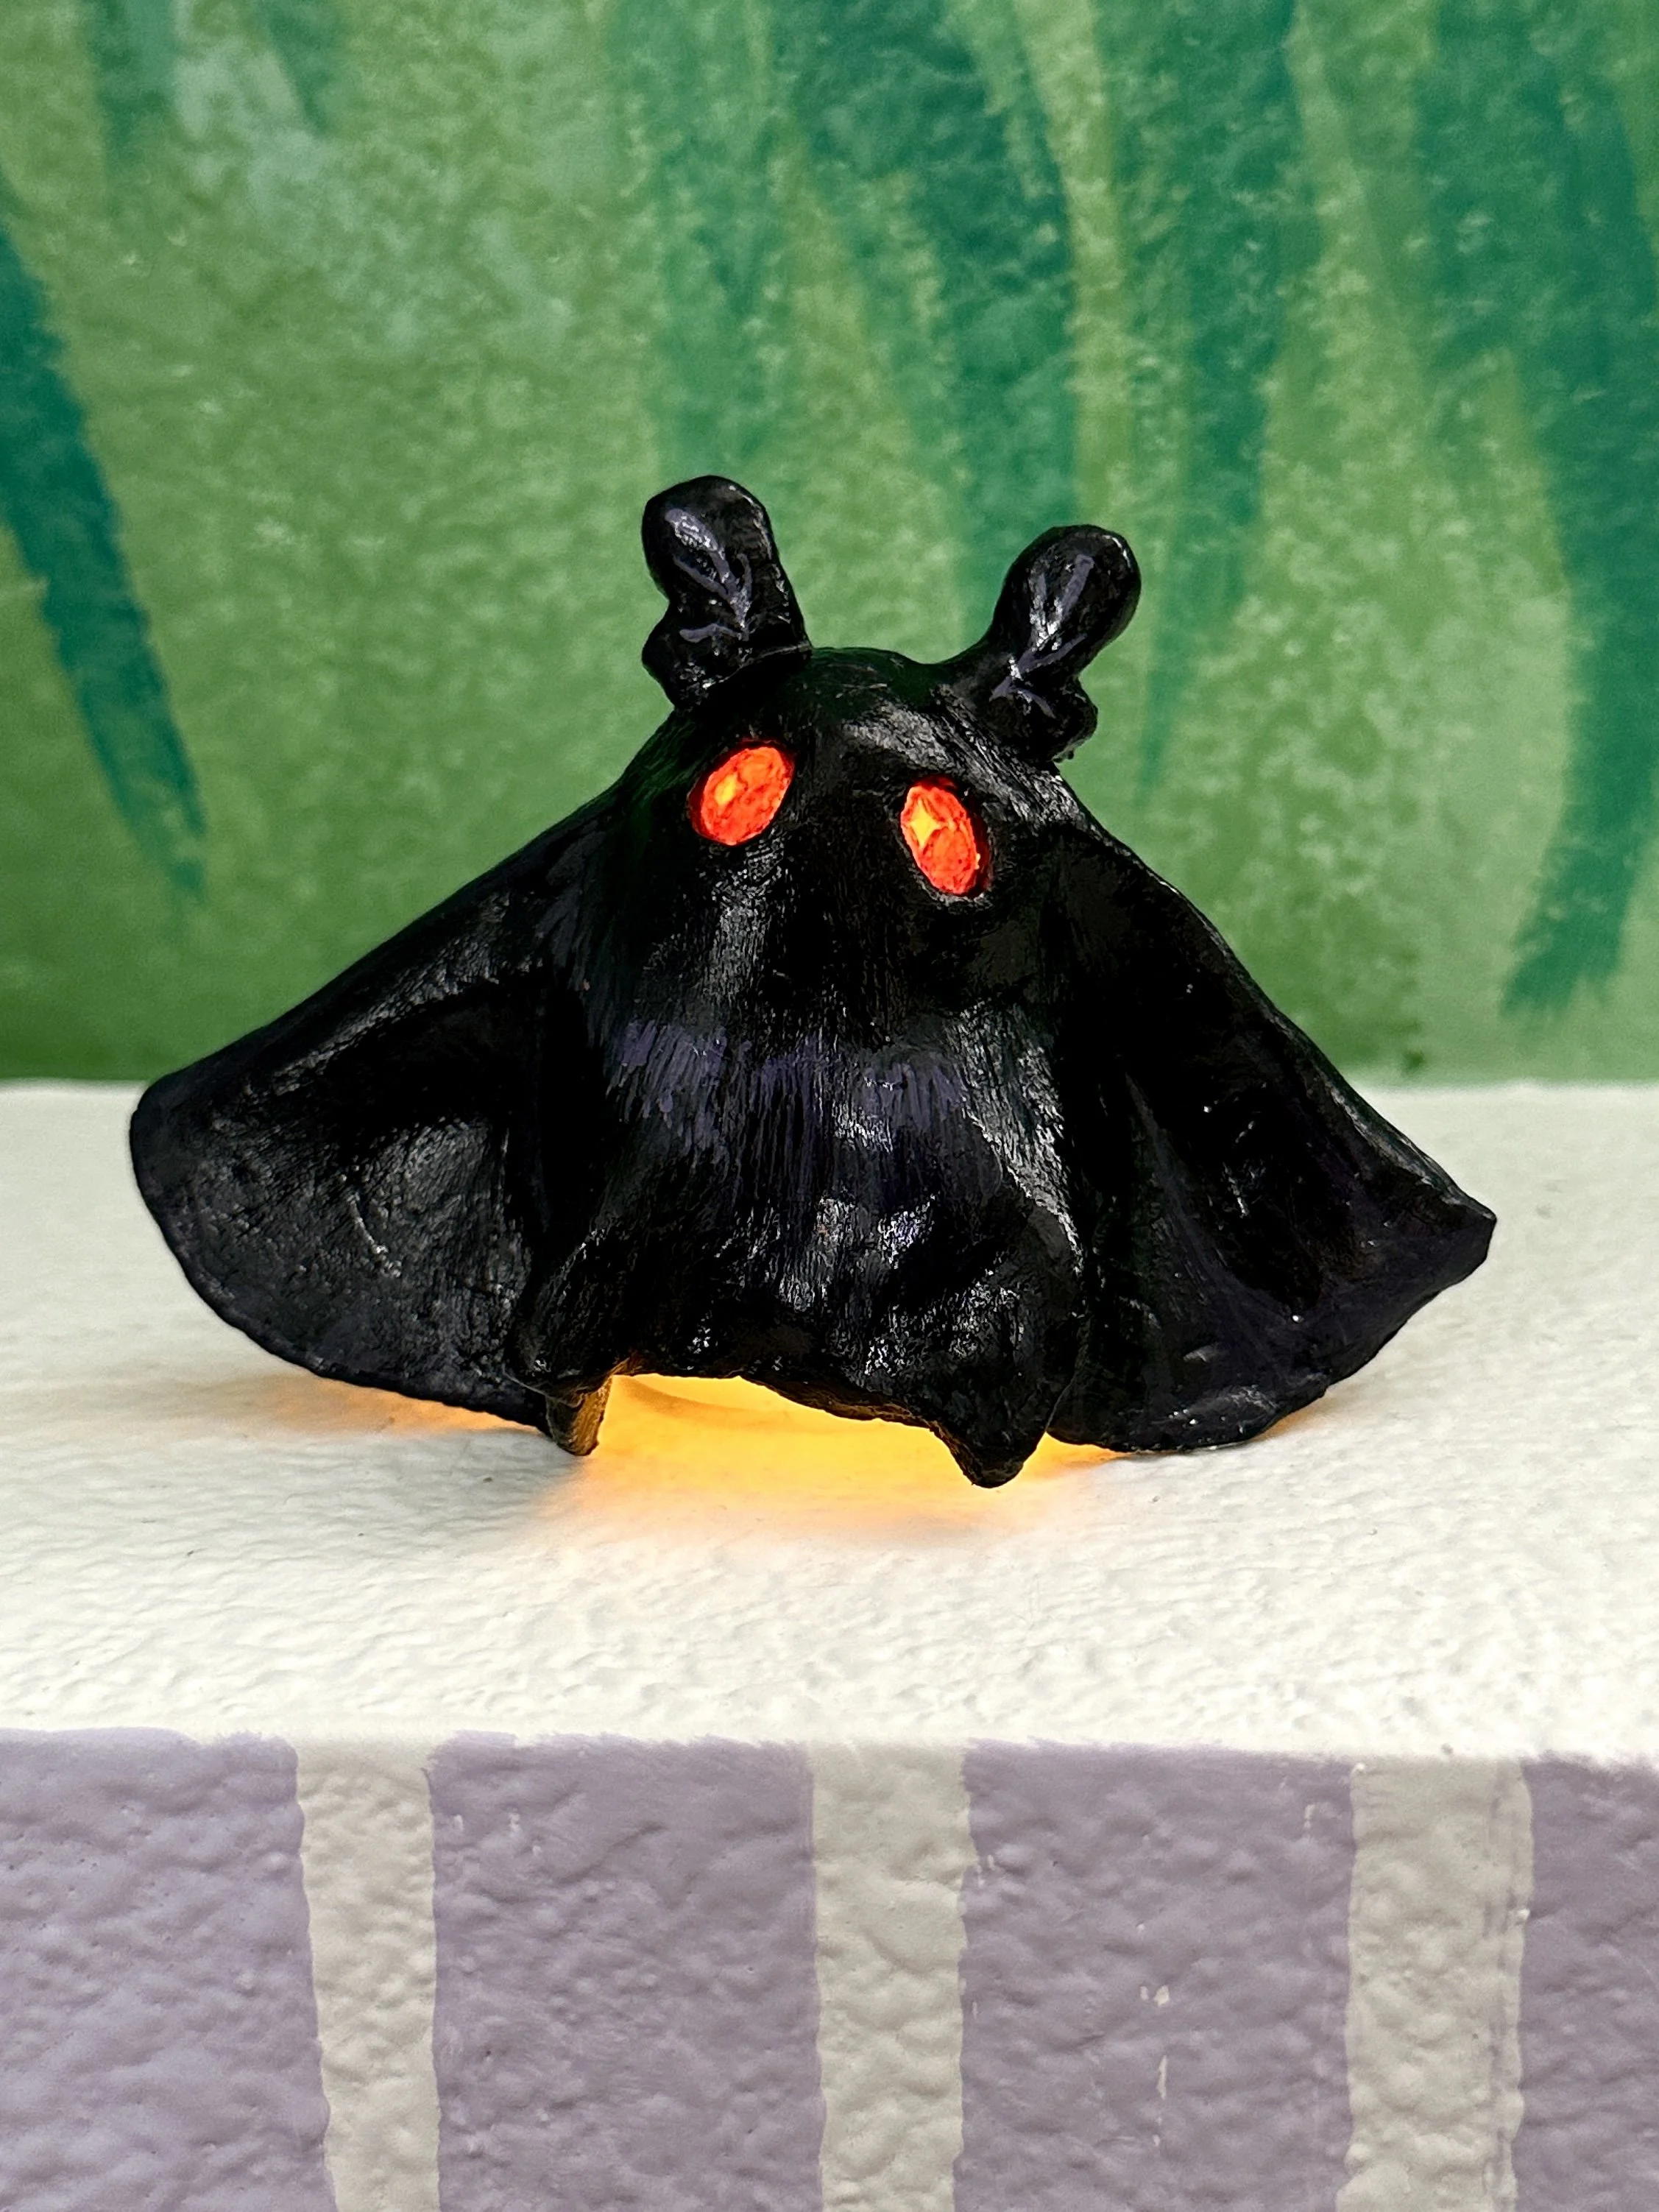
Air Dry Clay Craft: Mothman Ghost
✨ Learn how to create your own Mothman below! ✨
Inspired by the general clay ghost trend.

Click image to go to the YouTube video!
+This took me about 3 days to finish, due to drying time. +
List of Supplies:
I curated a list of my ideal Air Dry Clay supplies for you on my Amazon storefront here.
{Please click on the “ or quotations mark on the lower right of the product image to see the note I left for you on each product there!}
Air Dry Clay ( I use the Crayola brand in White)
Parchment Paper
Tinfoil
Plastic Wrap
Clay Carving tools (something to poke out the eye holes)
Roller (to flatten the clay), I used my hands or a drinking glass
Water & Water Cup
Mod Podge or Gesso (don’t need both)
Acrylic Paint
Paint brushes
Clear Plastic ( I cut out pieces from a take-out lid)
Candle Tea Light
Scissors

Step 1: Set up your space!
Take out a piece of parchment paper, enough to cover your space. You can tape the edges down if you’re worried about it moving around. This makes for an easy clean-up and protects your workspace!
Gather your first round of supplies! Put out your water cup with water, gather your fav Clay Carving tools & what you’ll use to flatten the clay, the tinfoil and your plastic wrap.
My workspace looked like this:

Step 2: Make the base for the ghost.
The air dry clay will need something in the center of it to support it as it dries and to make room for the tea light to go under it.
Grab a piece of tinfoil! I was using tinfoil that had a length of about 18 inches long, so I pulled about 6 inches wide. Then crumpled it together, making a 4 inch tall, half a pickle shape. I would check to make sure the diameter of the base covers the size of the fake candle. The height you can eyeball and adjust based on what feels correct to you! No stress 👍
Wrap it in plastic wrap to make sure that the air dry clay doesn’t stick to the tinfoil as it dries.
Should look something like this:

Step 3: Take out the clay!
It’s time! Take out a piece of clay, about the size of your palm.
Then roll it out, until it’s a flat circle about 1/4 inch thick. If it’s thinner than that, it can break apart easily as it dries. I err on the side of thicker is better—knowing that the thicker it is, the longer it takes to dry.
I used a drinking glass and my hands to squish it out. You really just need something with a bit of weight to it and that has a smooth cylinder base.
No need to make it into a perfect circle. You can clean it up if you’d like with one of the clay tools that has a poke-y end or knife looking end. Just aim for a circular shape!


Step 4: Drape the clay circle over the base.
Take the circle off of the parchment paper and drape it over the base.
Pinch it in the middle of both sides, on the circumference. The far right and the far left sides. Like you’re folding it half. That’s how you make a winged look!
You can continue to pinch and pull in the rest of the circumference to make a wavy, ghosty look.

Step 5: Cut out the eyes!
Using your pokiest tool, something with the smallest knife edge, to draw two ovals on the middle, top area of the sculpture. Where you think the face would be.
Scoop out the clay! After that is done, you can use a touch of water to smooth out the edges.
Take out your piece of clear plastic and scissors.
Cut out ovals that are slightly larger than the ovals you made in your clay sculpture.
Slide in the plastic pieces you just cut, into the holes in the sculpture. I tucked one edge into the clay first, then manuevered the other sides into it. You want to make sure every edge of that plastic is in the clay. You can also move the edges of the clay over the plastic pieces too.
You’ll be cleaning this up later when it dries so don’t stress if it doesn’t look uber clean inside of the sculpture. Do what you can to clean it up on the outside using water the smooth the edges out.


Step 6: Create the moth ears!
Besides the glowing eyes, I think these lil ears make Mothman Mothman!
So! Grab two small pieces of clay. Make them into about an inch long cylinder.
Use one of your tools to make a slit halfway down on one of the sides of the cylinder.
Seperate the broken apart area and round out both peaks. It should look like the below photo.
Clean out the inside of the piece or make a hole in the bottom of the ear, leaving an edge/rim on the inside. That way it dries easier.
Repeat to create the second ear!
To attach the ears to your mothman sculpture, score the spot you want it to go as well as the bottom of the ear piece. Scoring means to make lil tick marks.
Then add some water to one of the scored areas (ear or mothman).
Stick it on! I used the yellow tool in the photo to blend in the seam of the clay to the base of the sculpture.


Step 7: Let it dry!
It took my piece about 2 full days to dry. You’ll know it’s completely dry when it looks white, not a tan-ish color and if it doesn’t feel cold.
Keep an eye out for cracking!
If it does crack, you can create slip to repair them. Slip is watered down clay, to a point where the clay looks like paste. You can brush on that paste where ever you see a crack!


Step 8: Seal the surface of the clay!
You can’t paint the clay as is. If you do, the paint will just be absorbed by the clay and won’t be it’s best vibrant self.
You can use Mod Podge or Gesso to seal the surface to prep it for painting.
If you’d like to finish this guy within the same day, I’d recommend Mod Podge! It take about 2 hours to dry. One to two coats will work! (let it dry between coats)
If you’d like to build up a smoother surface, I’d recommend gesso. It takes 24 hours to dry.
Pour some out on the parchment paper or on a paper plate or palette. Use a paintbrush to brush on your surface prep of choice.


Step 9: Paint the Mothman!
Using your acrylics, paint the mothman how you like!
I went with flat brush to paint it completel y black first. It needed two coats to be a solid black. Then I added in some shading using gray/ purple colors. Made a leaf-y sort of line art for the ears.
When the paint dried, I also added mod podge on top to give it a glossy sheen.


Step 9: Remove the base!
Your mothman is now ready to stand on it’s own! Take out the tinfoil base!
Step 10: Make the eyes red!
Make sure the inside around the eyes is as clean as you want them to be! I mostly used my fingernails to scratch out the excess clay.
I used a red sharpie initially, but I didn’t love how it could rub off after drying. I’d recommend glazing it with some red paint.
You can use water to make the red paint transparent or mod podge. Use a paint brush to paint the plastic pieces.
You don’t want to use straight acrylic paint because it could make the plastic pieces too opaque.

Step 11: Turn on your tea light and enjoy! :)
Put the tea light underneath your Mothman and bask in his glory! ✨
Please tag me @kcristalpaintings on anything or especially on Youtube if you share your creations online! I’d love to see!