How You Can Paint an Ornament like A Pro ❄️
The perfect craft to do before the holidays! I used to make these all the time through my Custom Pet Portrait job so I thought it would be fun to tell you how I go about doing these professionally.
List of Supplies:
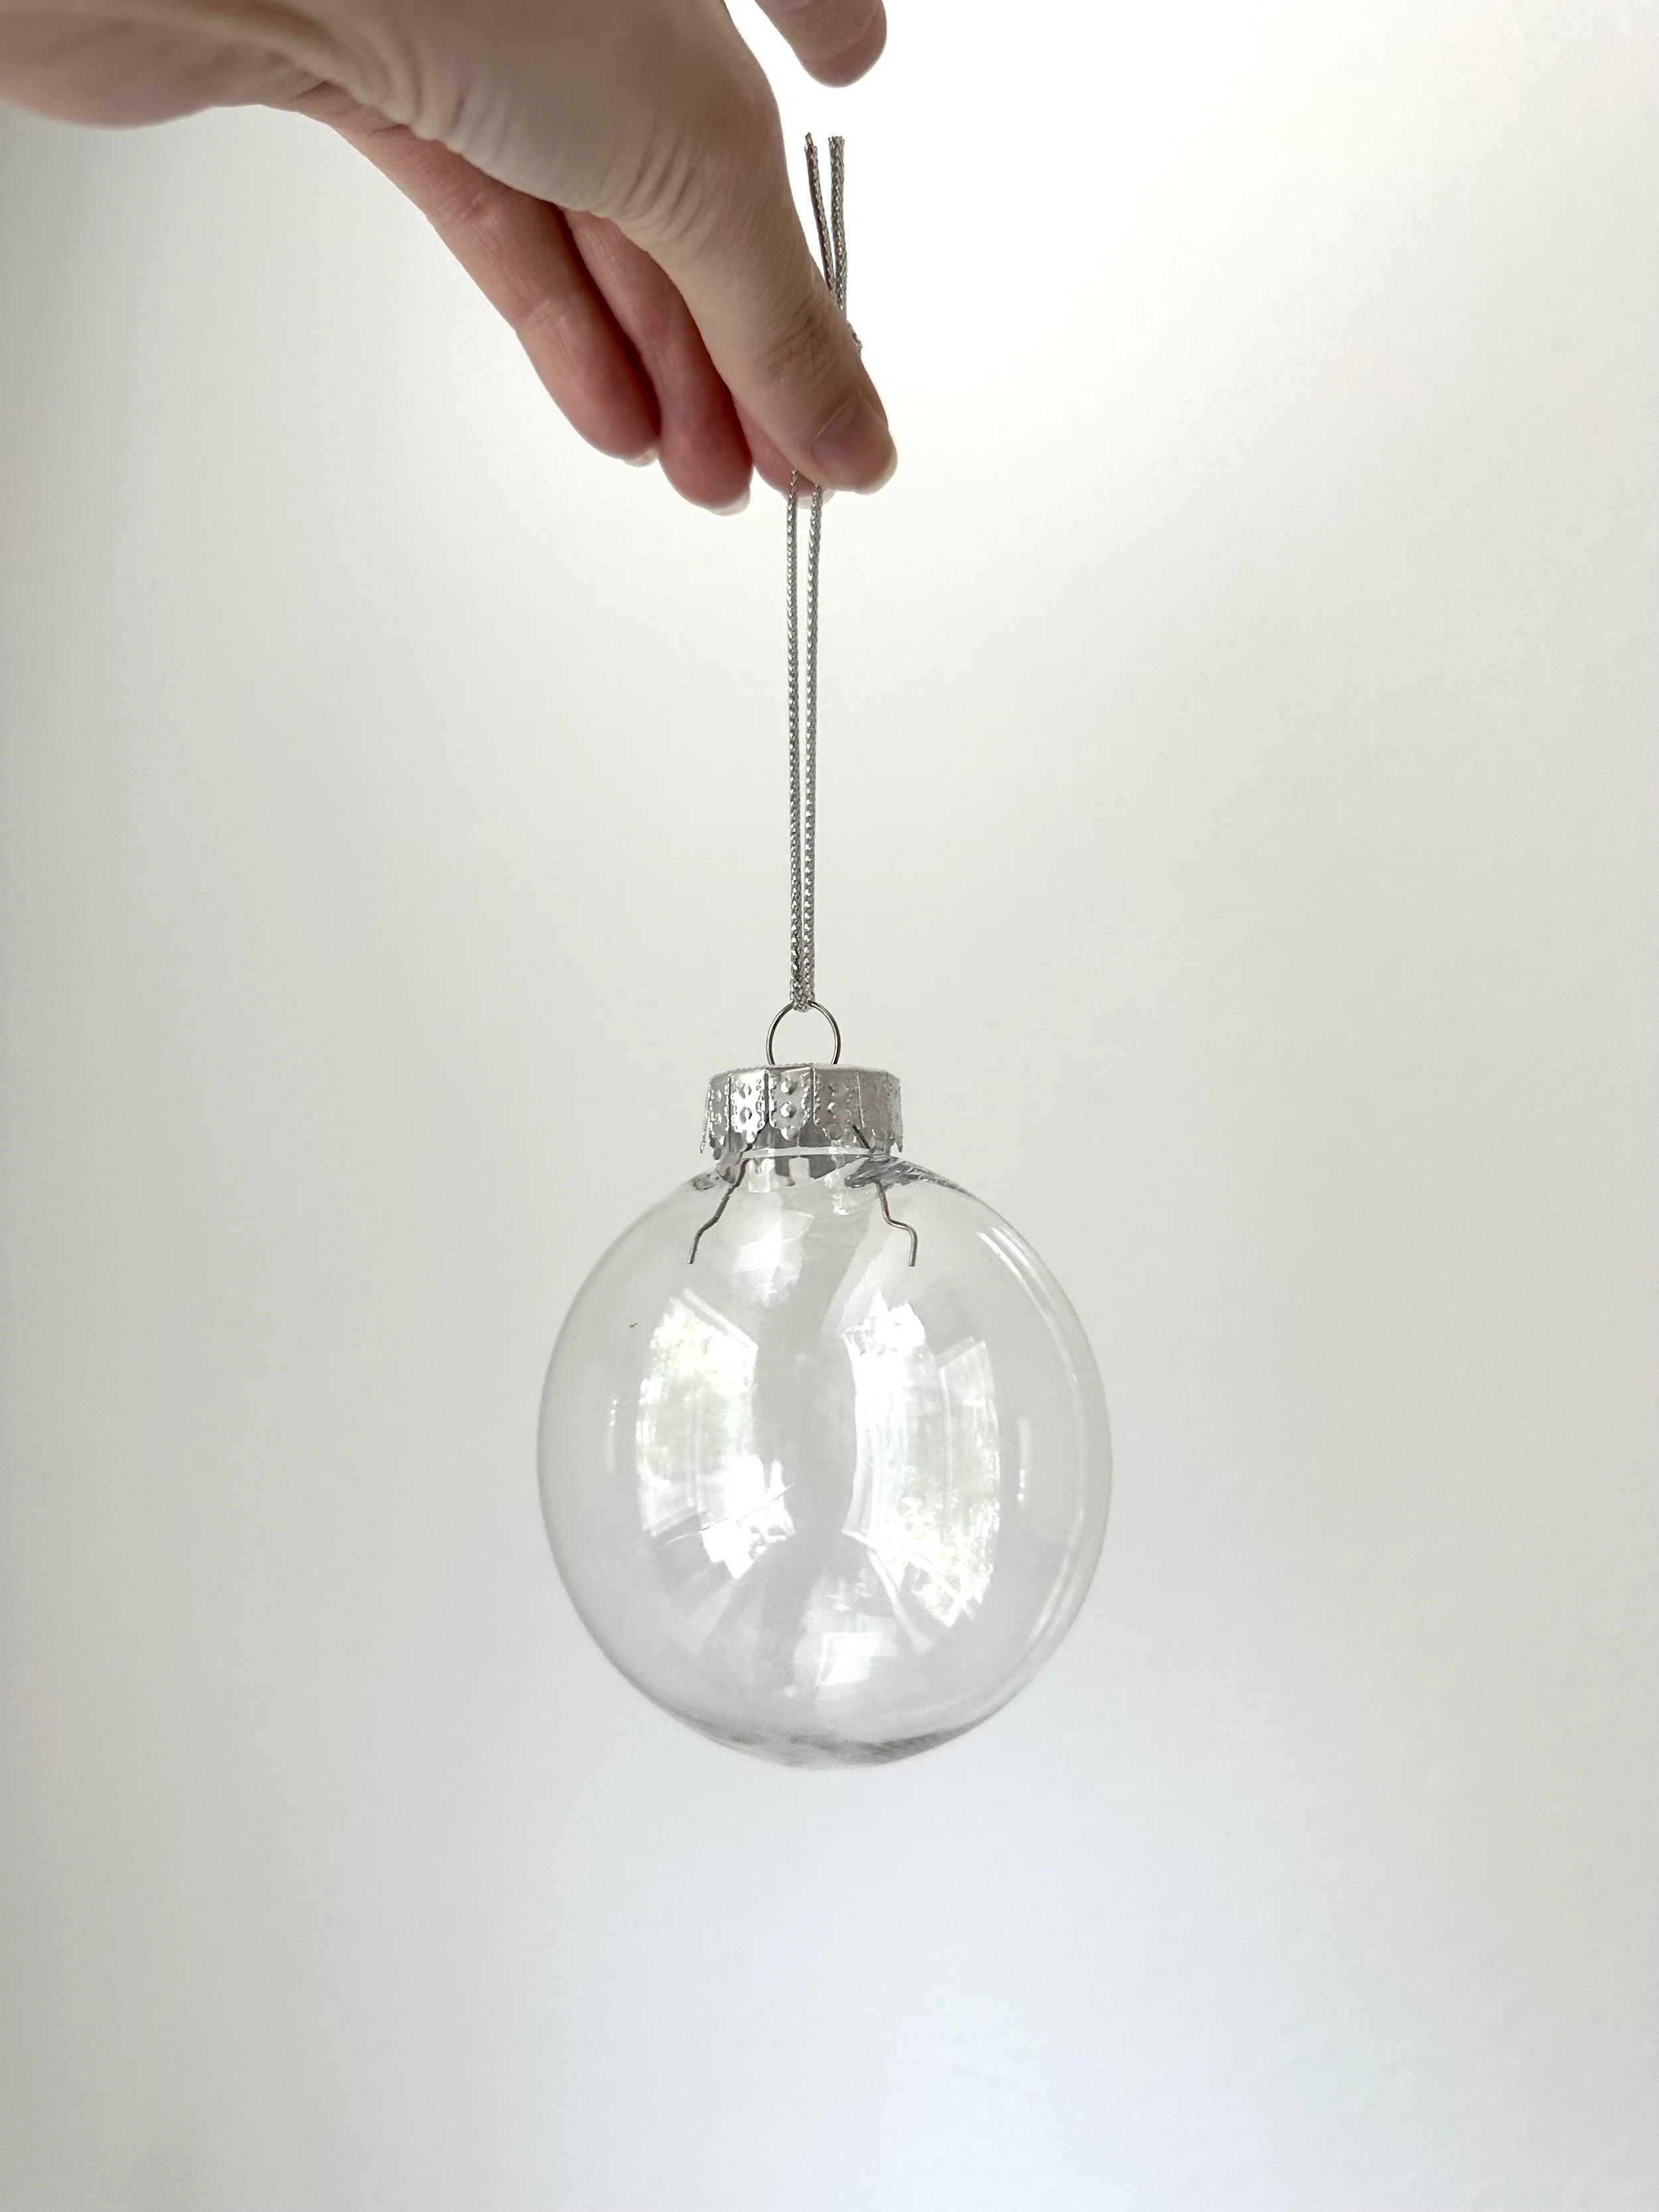
Disc Ornament
-can buy on Amazon here, this brand has great consistent quality too!
These are my favorite kind because they have the least amount of distortion, compared to the usual globe kind of ornament. 🙌
I also go for the plastic kind because I don’t trust myself with glass 🤗
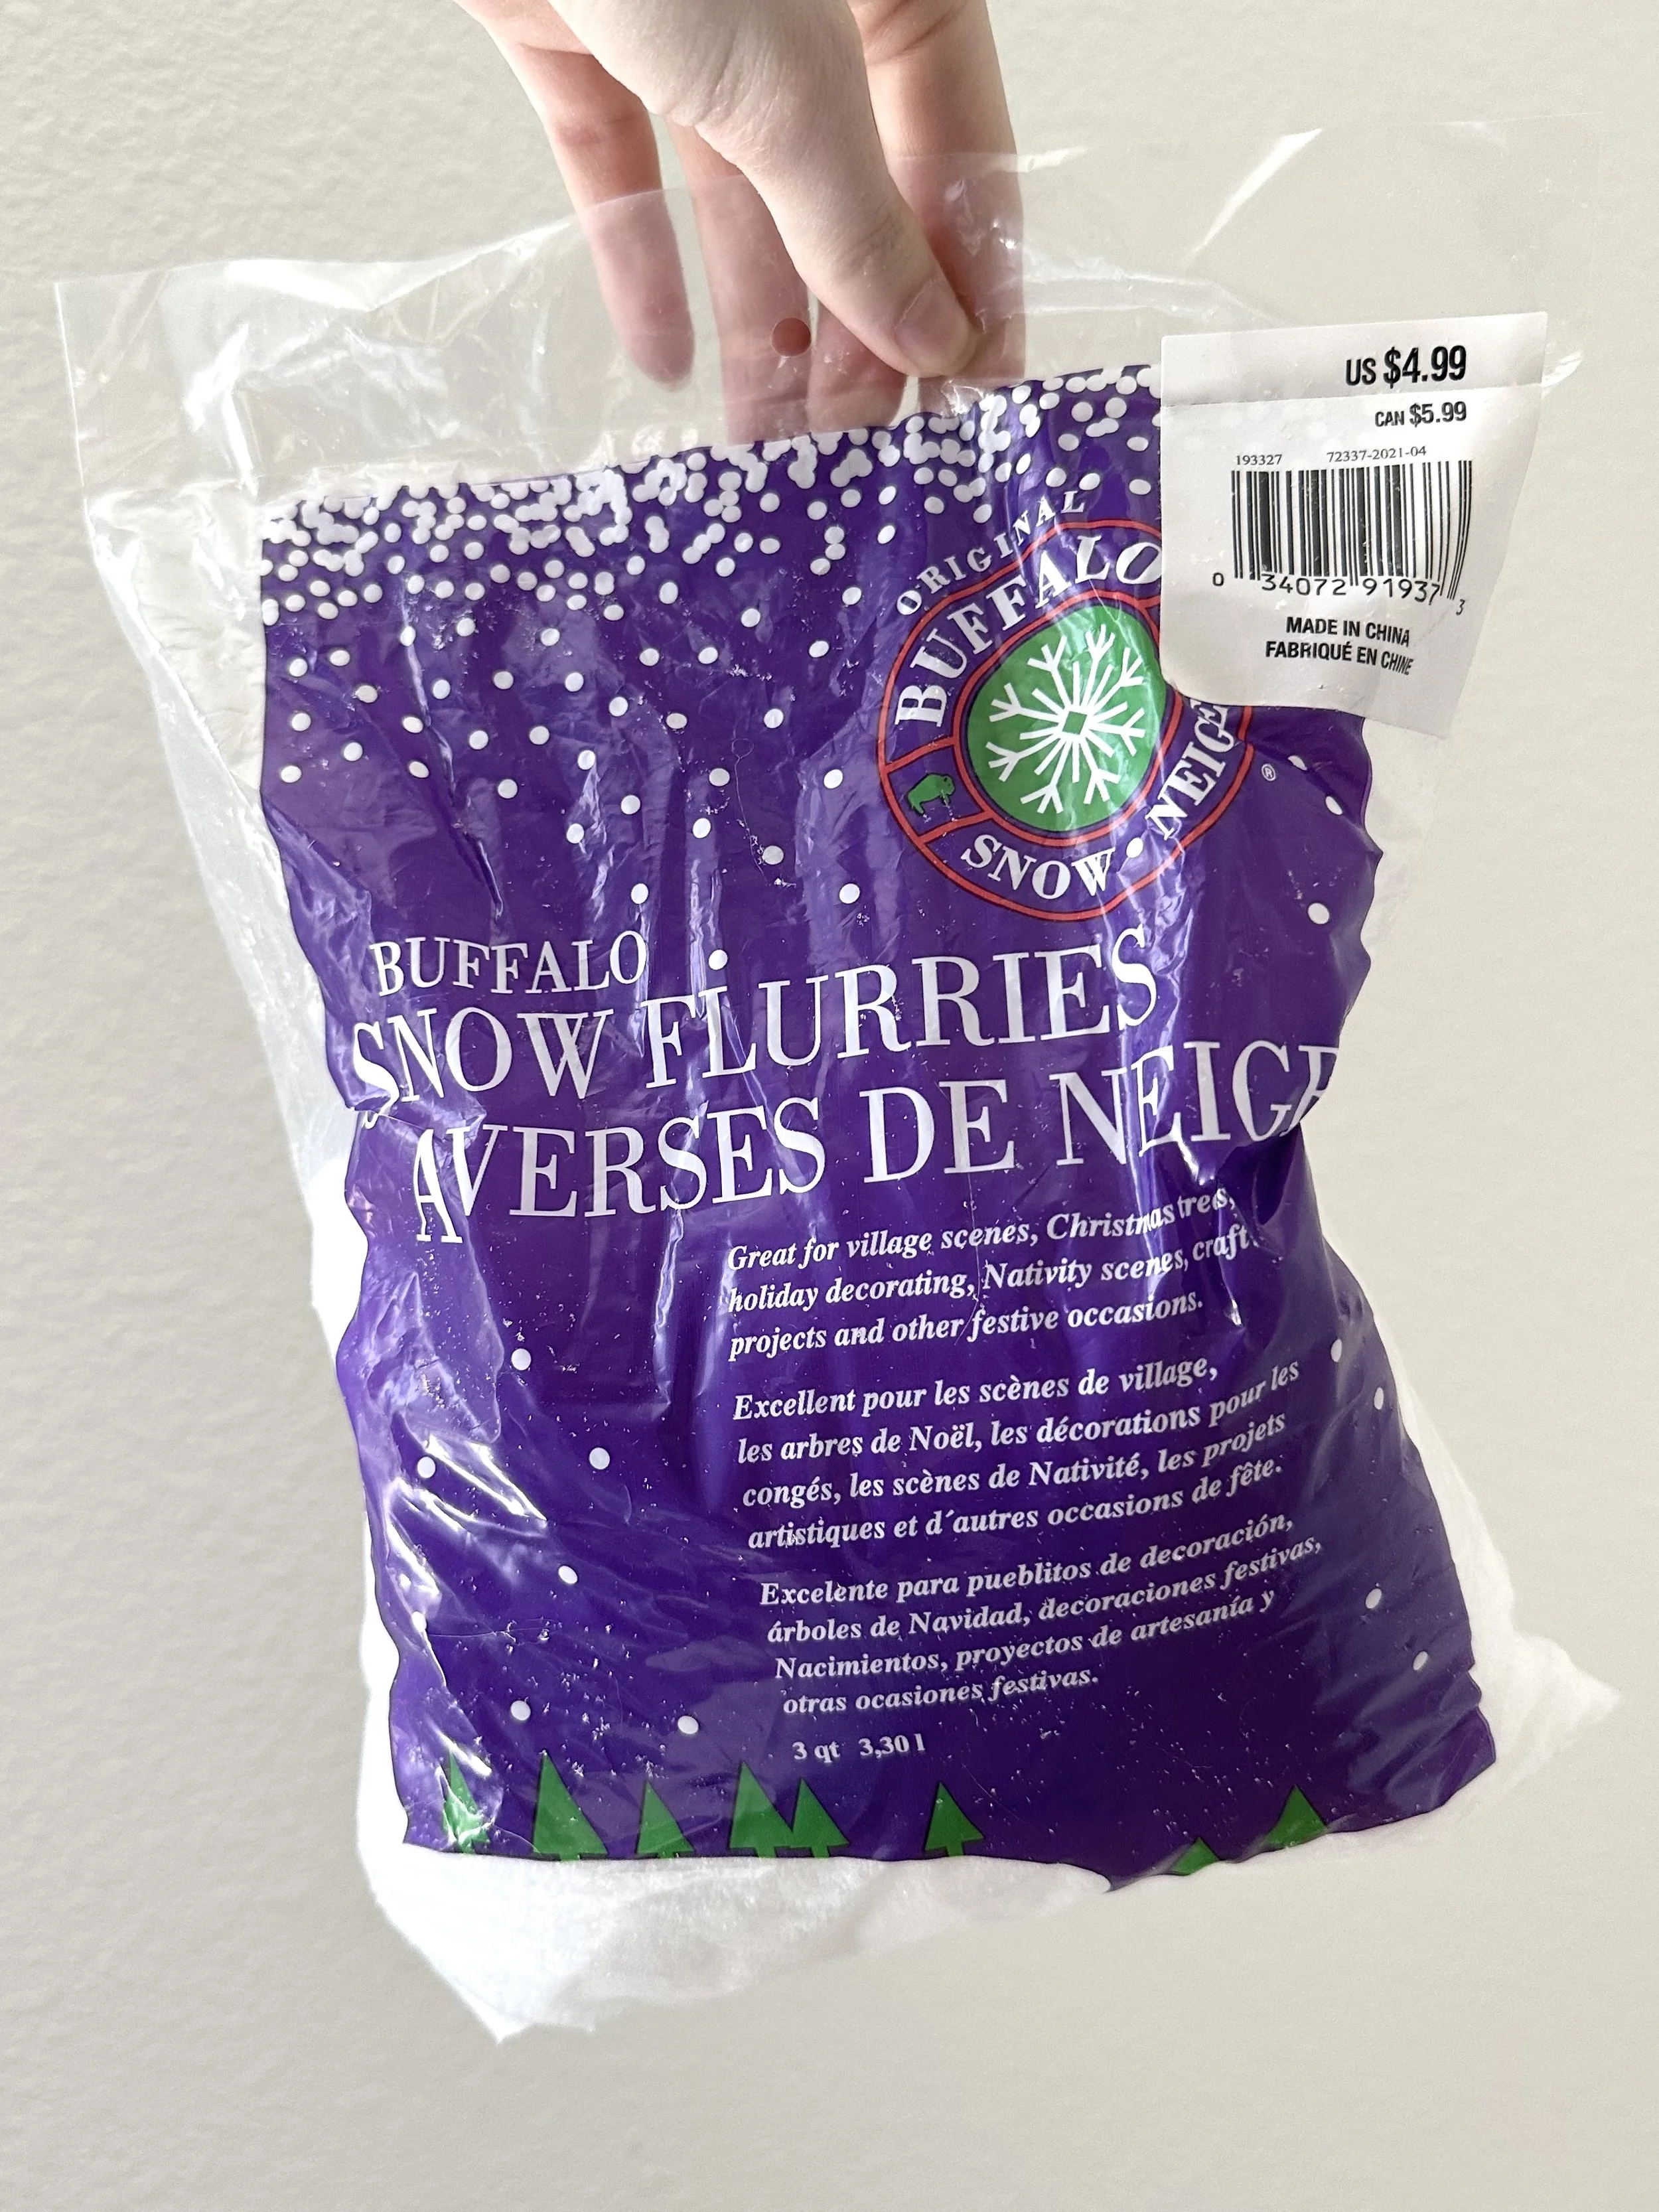
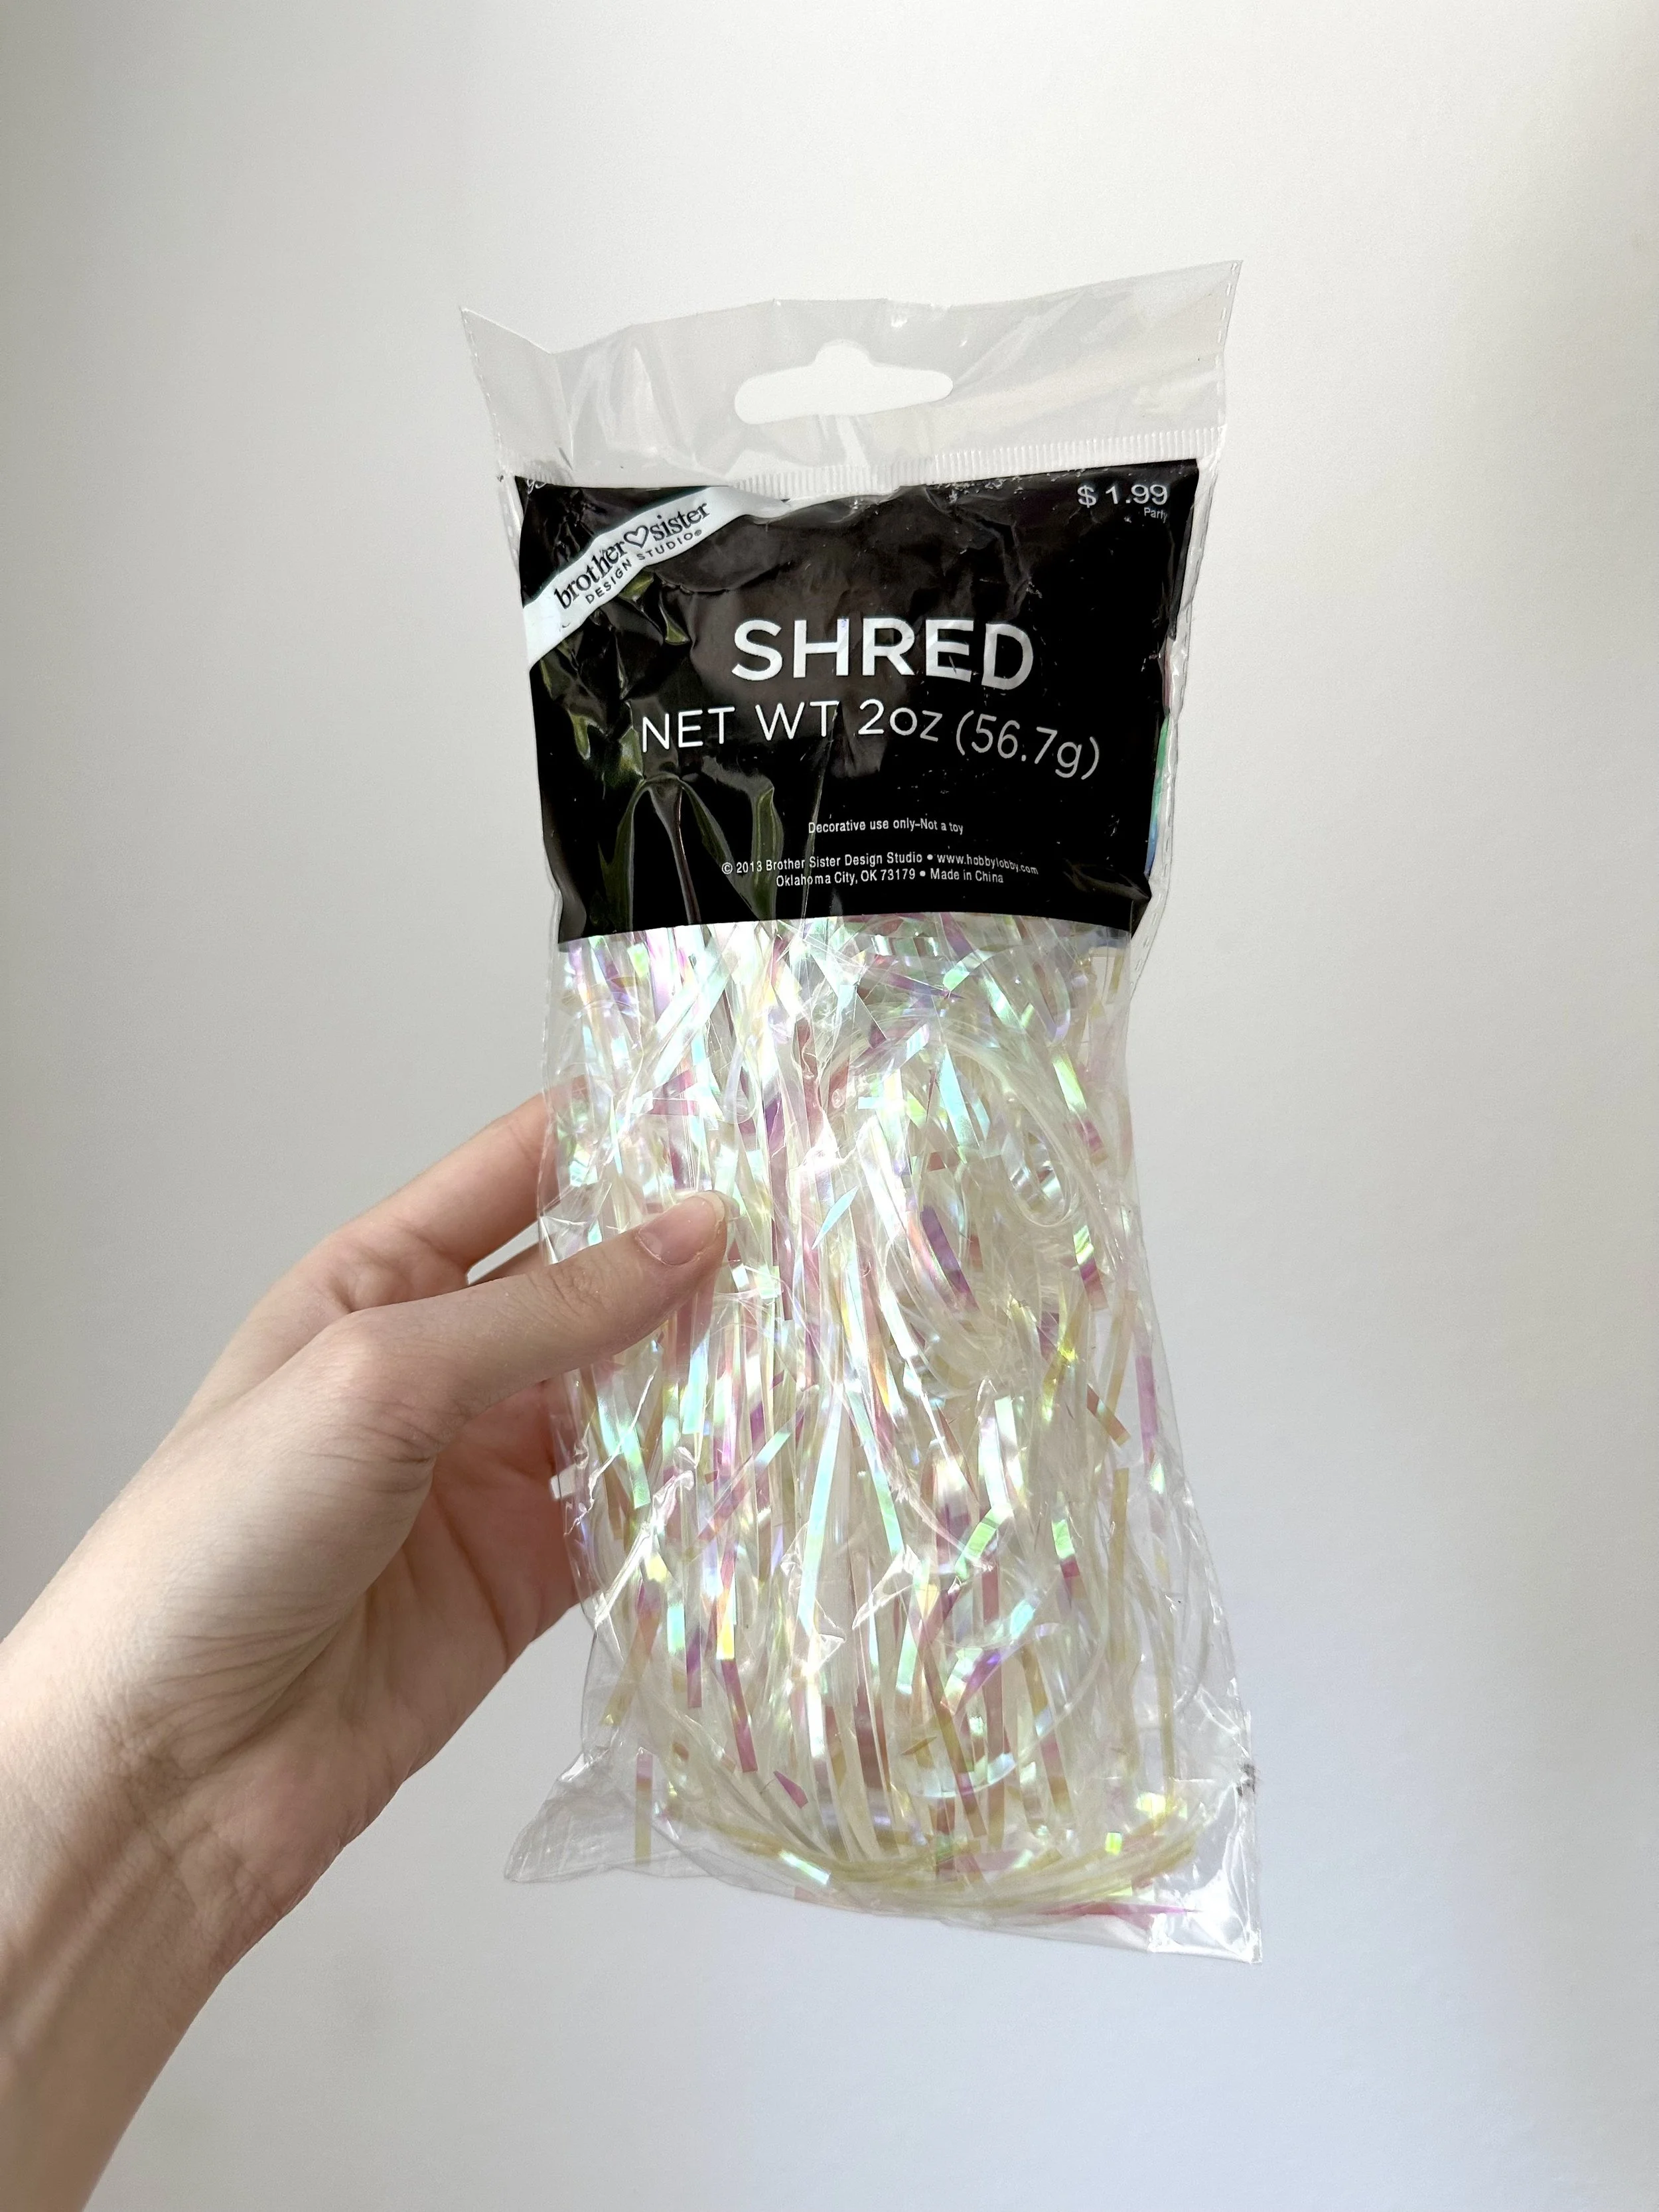
Filling
~what goes inside the ornament as an extra detail ~
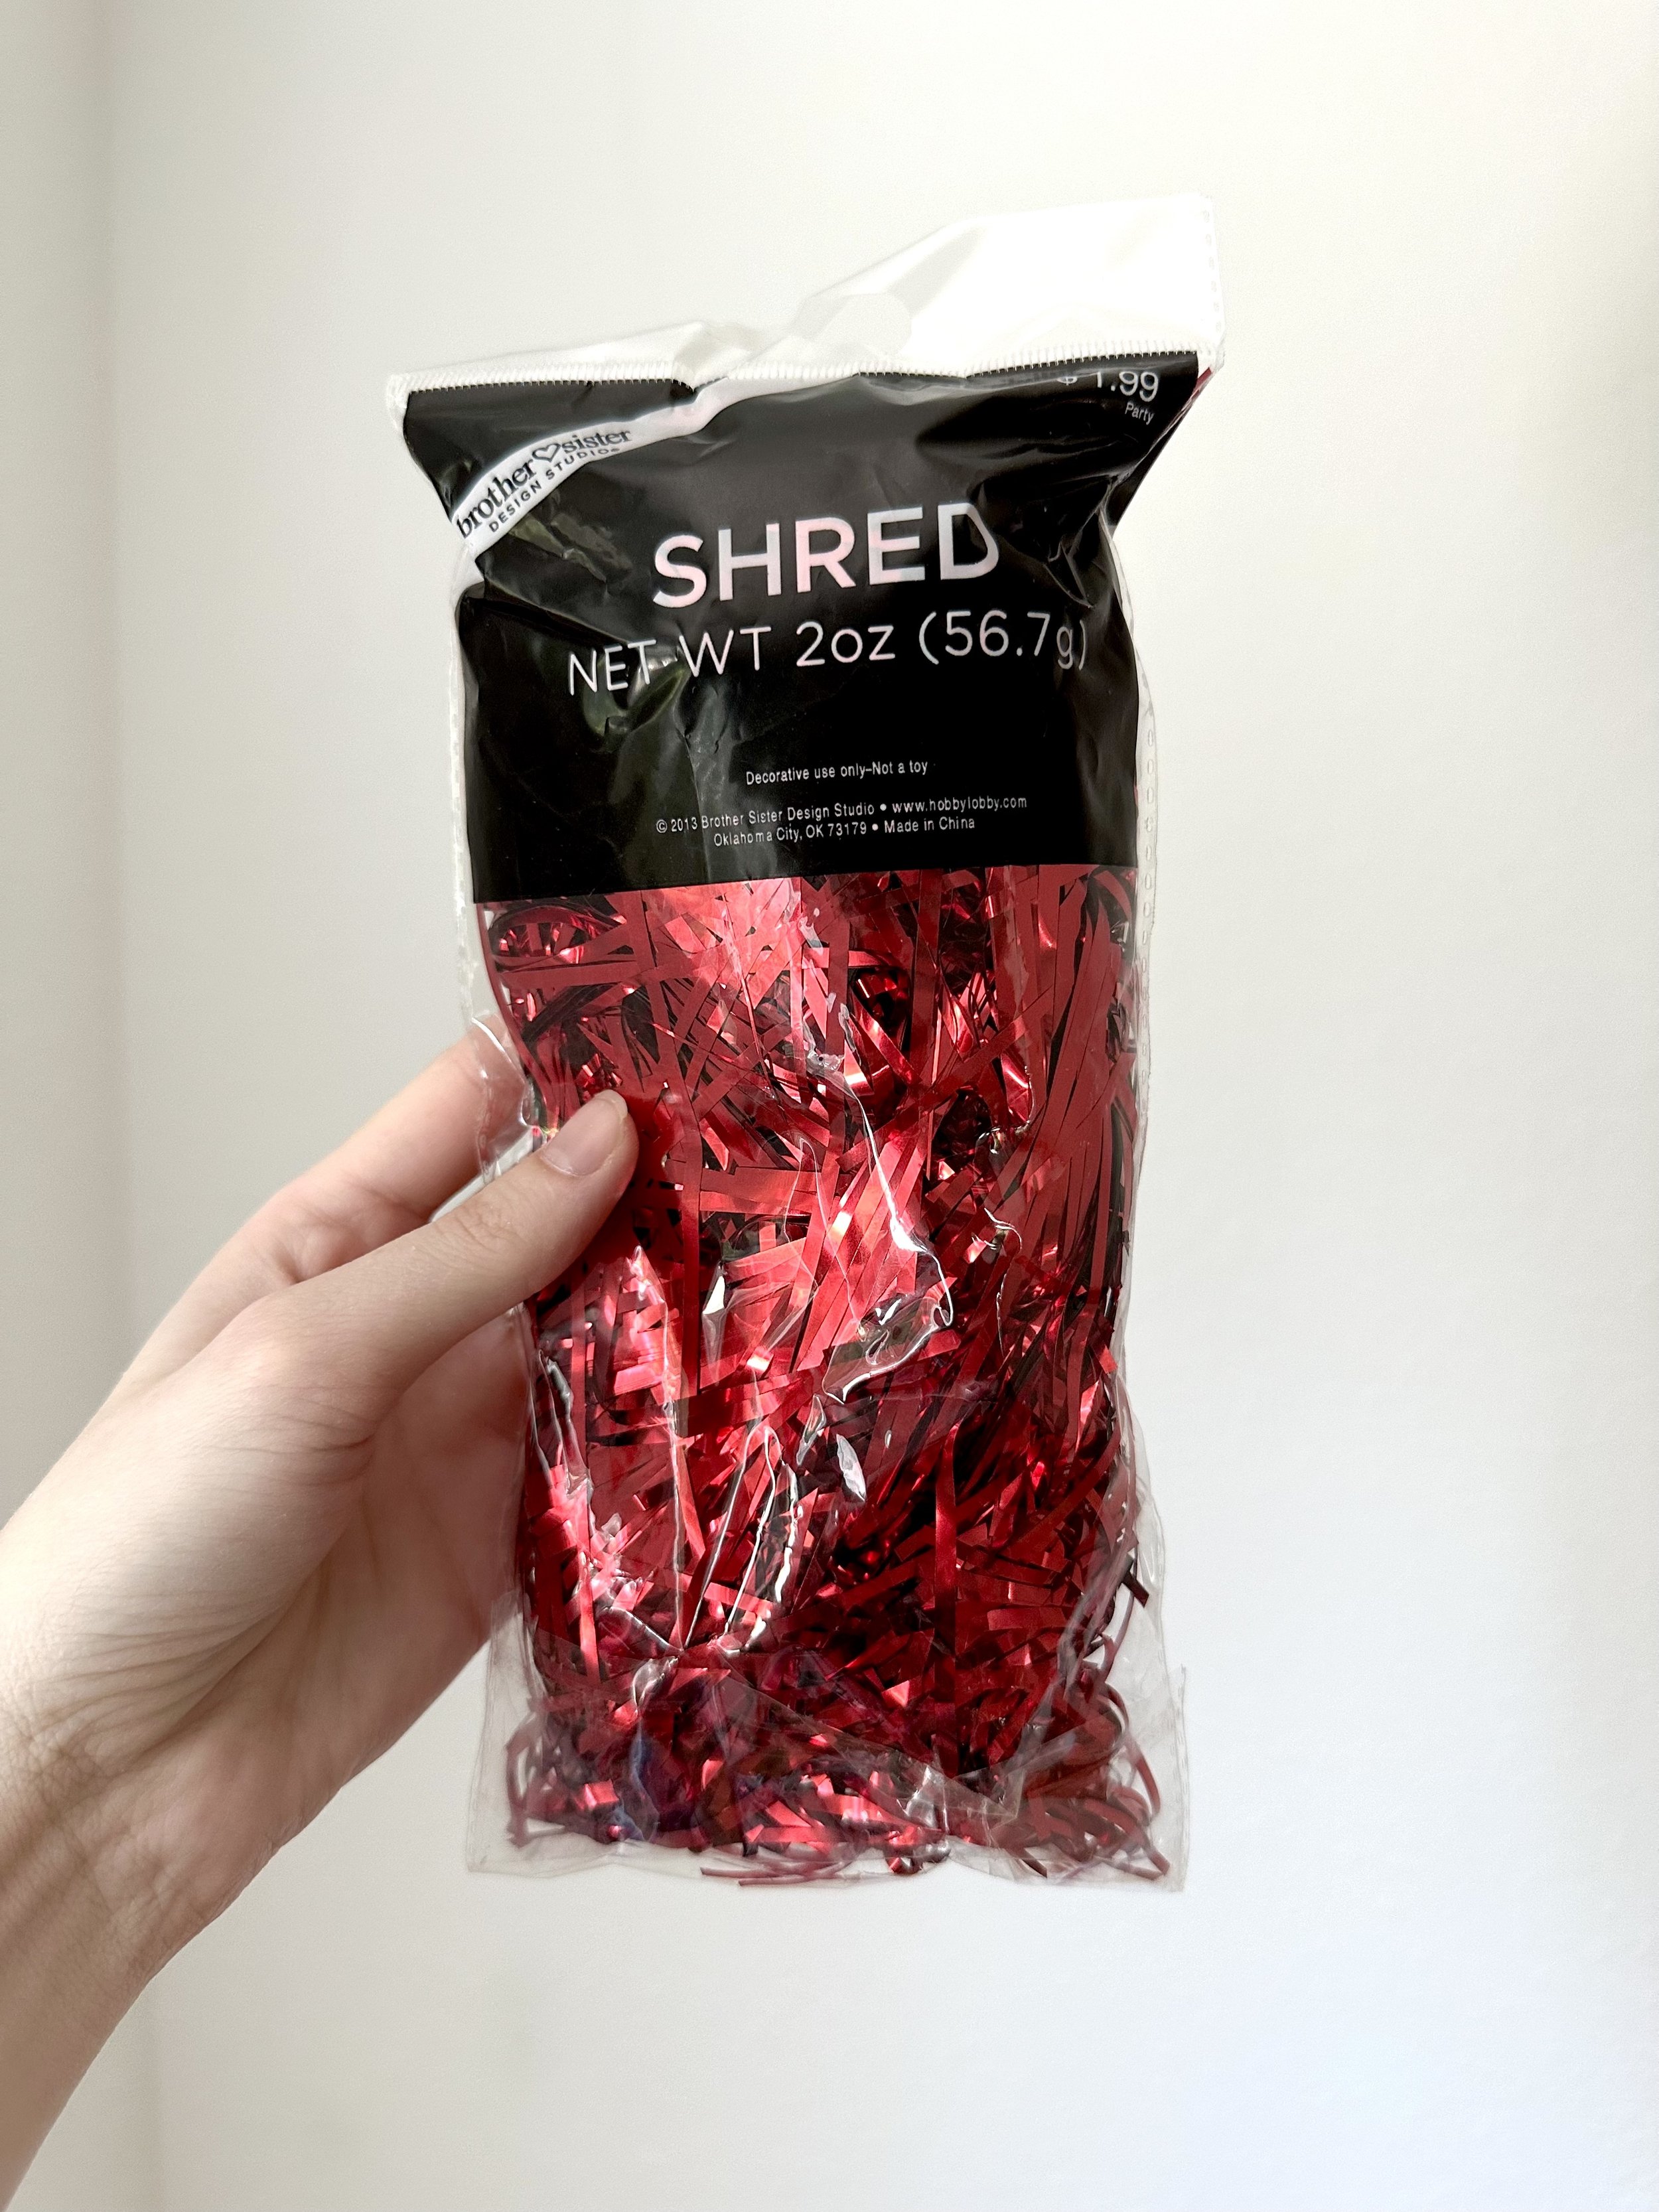
like Shreds
Fake Snow
Moss
can do anything dry and fun! (glitter for example)
Or do no filling!
Head to Micheal’s or your local craft store for options!
For Further Personalization: Buy Your Own Ribbon
Not necessary as most ornaments come with their own way to hang them up. I like swapping them out with my own ribbon pick to match the painting.
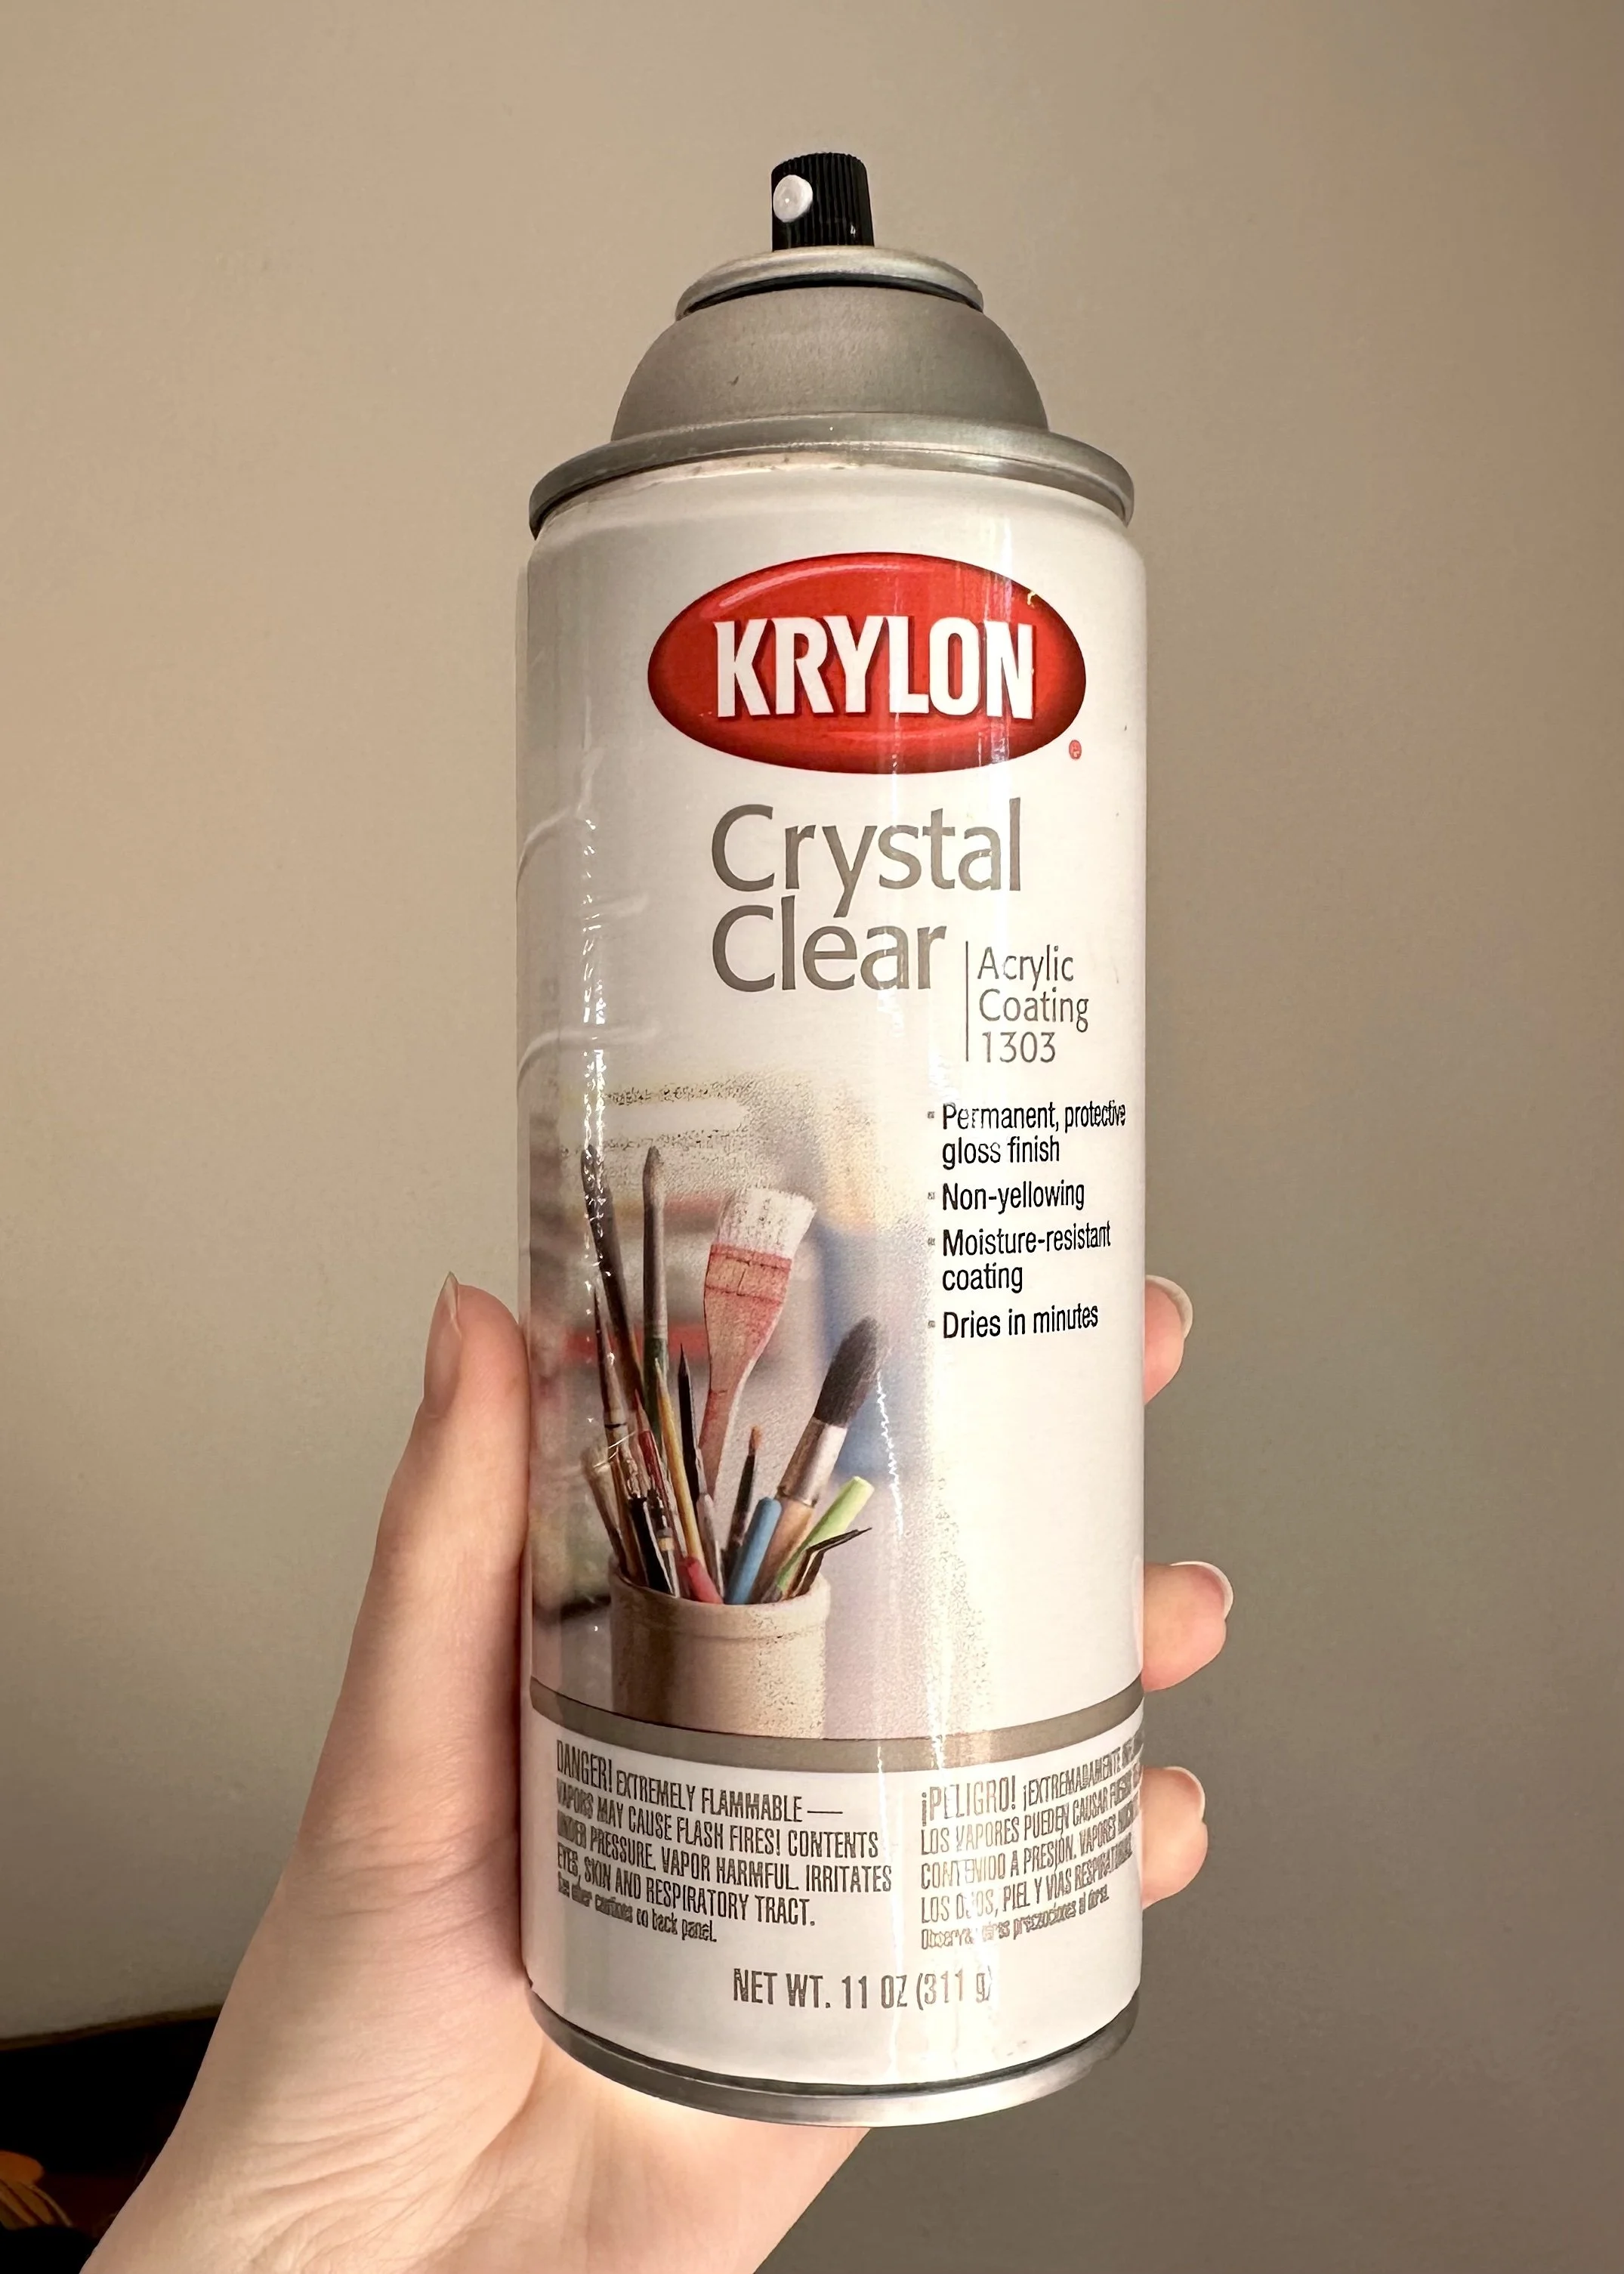
Fixative {Krylon Crystal Clear Acrylic Coating}
~necessary to protect the paint from potential scratching or from coming off the ornament~
This specific fixative I’ve found to be the best for adhering acrylics to weird surfaces. It will leave a stunning glossy finish.
can buy on Amazon here
get a disposable paint brush too, anything cheap—because we will be brushing on the fixative (hard to clean the brush after using)
Acrylic Paint
-Paint brushes
Detail brushes are best! Like liner brushes on the 5/0 end.
- Palette for Paint (paper plates were my fav for a bit!)
-Water Cup to wash Brushes
-Rag to dry Brushes or Correct Mistakes
Here’s a link to my Amazon Storefront, including all of my top rec’s for paint, brushes and palettes.


Step 1: Fill Ornament with Any Kind of Filling
First step! The tops of each ornament should be easy to remove. Just tug it out! The lids have prongs to keep them inside the ornament, so don’t be afraid to really pull them out.
A funnel of some kind would be ideal to prevent the filling from getting everywhere. I made a paper one and used a spoon to get the fake snow in there.
You can decide how full you want it to be. With the snow, I liked filling them a third up in the ornament to compliment the pet on the front of the ornament.
Design-wise, you could leave space to see through to the back of the ornament too. Imagine the possibilities! In the example, you’ll see a snowflake background behind the dog.
Some fillings, like the shreds, look great filled all the way!
I like putting in the filling first to see how it affects the painting.


Step 2: Start Painting and Build a Surface
Painting on plastic can take a second to get used to! It starts off thin, with low opacity.
Using acrylics, it can take more than one layer of paint to build up a surface to paint with higher opacity. Let it dry between each layer too.
If you paint on top of the first layer while it’s still wet, you will take off what you just painted.
You can also use this to your advantage! Super easy to wipe off any mistakes with a damp rag at this point.


Step 3: Alternate between sides while drying
While the front dries, you can work on the back of the ornament. So many ways to go!
To make a cool background for the front side, paint the pattern/subject first and then paint a back on top.
For example: I made snowflakes on the back. Let it dry. Then painted over the snowflakes with a blue background to make a cute snowy sky behind the dog on the front of the ornament. I finished it off with a white layer on top of the blue with a gold outline, and added text on top when that dried. So cute!
Usually, I added text with different backgrounds on the back of ornaments. Like the pet’s name and the date on top of a solid white circle with gold trim.
Anything that complements the front’s subject is ideal!


Step 4: Finish Painting and Leave to Dry Overnight
When it’s completely finished, I let it dry overnight before going to the fixative step. If you do it too early, the fixative can wipe away your work a lot easier. The paint needs time to grip the surface.
I’d hang these to dry on those jewelry trees, to lil nocks on my easel, to a coat hanger that was on the wall. Anything that lets it hang in the air without touching anything else around it.
Step 5: Brush on Fixative
Yay! Congrats on finishing your beautiful ornament! 💖
Everything must be completely dry at this point. I’ll use an alcohol wipe to get rid of any random marks left on the ornament to make sure its as clean as possible too.
Then! I’ll go outside with my ornament, a disposable brush, a paper plate, and a N95 sort of face mask.
The fumes from the fixative can be toxic so never do this indoors.
You can use gloves for extra precaution too.
Once you have your face mask on, proceed to spray some of the fixative on the paper plate.
Use the brush to lightly brush that fixative on the painted areas on your ornament.
You could spray the entire ornament, but I like brushing the fixative only on the areas that are painted for a cleaner look. It does dry clear, but I never like touching the texture of fixative, especially on an ornament that will be handled.Might be a me thing!
Let it chill outside, air it out by waving it, for at least 5 minutes.
You can bring it inside to fully dry after that. On the can, it says that it needs at least 2 hours to dry. I like leaving it to dry overnight before its safe to touch.


Bonus Step: Swap out the String with the Ribbon you Chose
This example I used a light blue ribbon instead of using the silver string that comes with the ornament.
I simply cut the silver string off using scissors. Then cut off the same length of ribbon ( about 11 inches), leaving some length to tie it off easily. You can use the silver string to help measure— line it up with your current ribbon and add an extra inch or so to allow for tying it off.
I looped it through the top of the ornament, and tied it off using a simple knot. (The kind you use to tie your shoes)
Thinner widths for ribbon work the best!
In Conclusion:
I hope you found this process helpful! Please tag me anywhere ( @kcristalpaintings or #thecuriouscristalblog ) so that I can see your creations too! Happy crafting everyone! ✨
Side note: Here’s a link to the TikTok video showing how I made the example ornament—-https://www.tiktok.com/t/ZP8rYprsu/